How to Design Your Own Circuit Board for Beginners?
Designing your own circuit board can be an exciting and rewarding journey. In 2022, the global PCB market reached a whopping $74.2 billion, showcasing the industry's growth potential. More individuals are turning to DIY electronics, driven by innovation and education. The ability to design your own circuit board empowers creators and hobbyists alike.
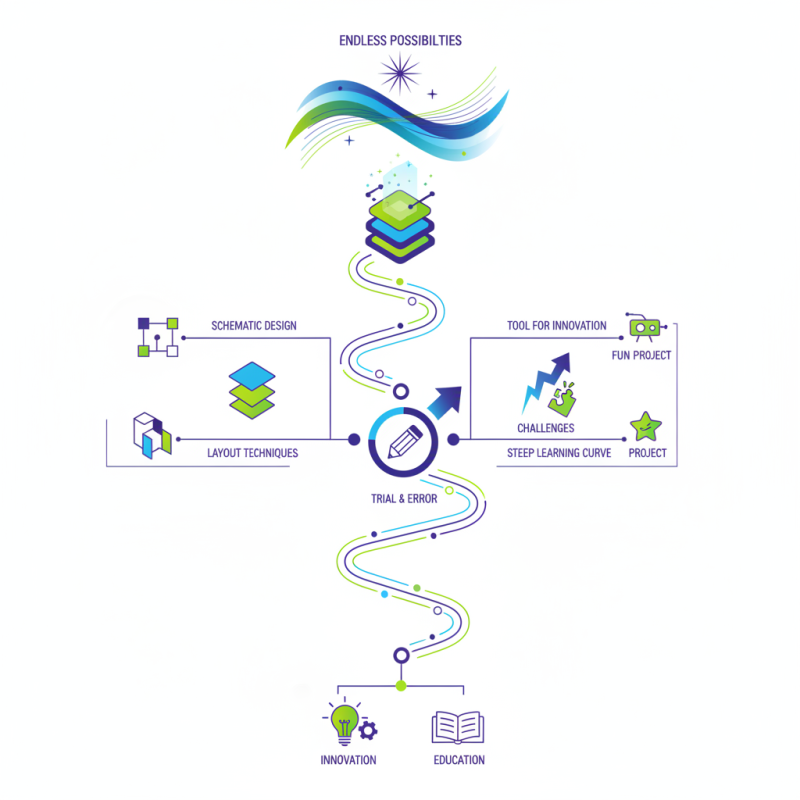
However, venturing into the world of circuit board design comes with challenges. Beginners often face steep learning curves. It's crucial to grasp fundamental concepts like schematic design and layout techniques. Resources are available, but not all are user-friendly. Mistakes in design can lead to functional failures, prompting the need for iterative improvements. Many makers find that trial and error is part of the learning process.
Embracing this complexity makes the journey worthwhile. Each circuit board designed is a step toward mastery and creativity. Enthusiasts often share their experiences, highlighting both successes and setbacks. The circuit board you create could be a tool for innovation or simply a fun project. Regardless, the skills gained are invaluable. Design your own circuit board and explore the endless possibilities of electronics.
Understanding the Basics of Circuit Board Design
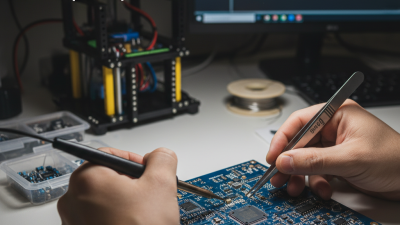
Designing a circuit board can seem daunting, but understanding the basics can simplify the process. Begin with your concept. Sketch out your idea on paper. This helps visualize circuit connections. Identify components like resistors and capacitors. Each plays a crucial role in your design.
Next, use software to create a layout. A digital tool can streamline this step. Ensure your connections are clear. It's easy to overlook connections, leading to potential issues. Check the spacing between traces. Sufficient gaps prevent short circuits and signal interference.
After drafting your board, it's time to reflect. Mistakes happen in every design. Perhaps a component doesn't fit as planned. You might realize certain connections are too close. Learning from these challenges is key. Every iteration improves your skills. Embrace the trial-and-error process in your journey.
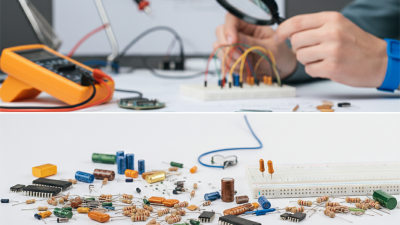
Basic Components Used in Circuit Board Design
This bar chart represents the number of basic components typically used in circuit board design. Understanding these components is essential for beginners in electronics and circuit board design, as they form the building blocks of any circuit.
Creating a Schematic Diagram for Your Circuit
Creating a schematic diagram is a critical step in designing your own circuit board. A schematic serves as a visual representation of your circuit's components and their connections. It is essential to establish a clear layout early on. Misplaced components can lead to confusion and faulty designs. According to a report by the Electronic Industries Alliance, nearly 30% of design flaws come from initial schematic errors.
When you draft your schematic, ensure all symbols are correct. Each component should be labeled clearly. This clarity helps when you later translate the schematic into a physical circuit board. Industry standards emphasize the importance of following rules for connections and component placement. For instance, using standard symbols makes the schematic universally understandable. Overlooking this can result in misunderstandings, especially in collaborative projects.
It's also important to review your schematic thoroughly. Check the connections multiple times. An overlooked mistake can lead to a non-functional circuit. A study from the IEEE shows that approximately 25% of circuit design failures are caused by poor documentation. Take the time to reflect on your work before moving on to the next stages of circuit design. Every detail counts. Mistakes can offer valuable learning opportunities. By refining your schematic, you build a solid foundation for your project.
Translating Schematics into a PCB Layout
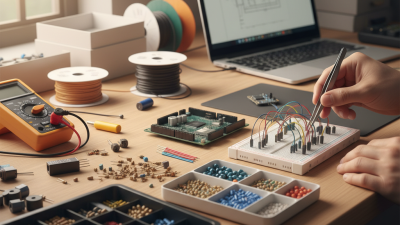
Translating schematics into a PCB layout is a crucial step for beginners. This transition can often be daunting. A recent report states that nearly 40% of novice designers struggle with this phase. Understanding the fundamentals of schematic representation is essential. Each component connects logically in the schematic. However, in a PCB layout, practical spacing and routing must be considered.
When laying out your PCB, think about component placement carefully. It’s not merely about fitting parts on a board. Noise, thermal management, and signal integrity play significant roles. Research shows that 50% of PCB failures arise from inadequate placement and routing. For instance, keeping high-frequency traces short can minimize interference.
Reflections on the process are important. Many learners find it challenging to balance aesthetics with functionality. Every design has imperfections. It’s common to discover an error too late. Reviewing and revising the layout can lead to improvement. Take time to iterate the design, ensuring all connections are valid. Embrace this trial-and-error nature; it’s part of becoming proficient in PCB design.
How to Design Your Own Circuit Board for Beginners? - Translating Schematics into a PCB Layout
| Step |
Description |
Tools Required |
Estimated Time |
| 1 |
Understand basic electronic components and circuit theory. |
Books, Online Courses |
1-2 weeks |
| 2 |
Create a circuit schematic using design software. |
CAD Software (e.g., Eagle, KiCad) |
3-4 days |
| 3 |
Translate the schematic into a PCB layout. |
PCB Design Software |
2-3 days |
| 4 |
Review and verify the design for errors. |
Peer Review Tools |
1-2 days |
| 5 |
Order the PCB from a manufacturer. |
Online PCB Service |
1 week |
| 6 |
Assemble components onto the PCB. |
Soldering Iron, Components |
1-2 days |
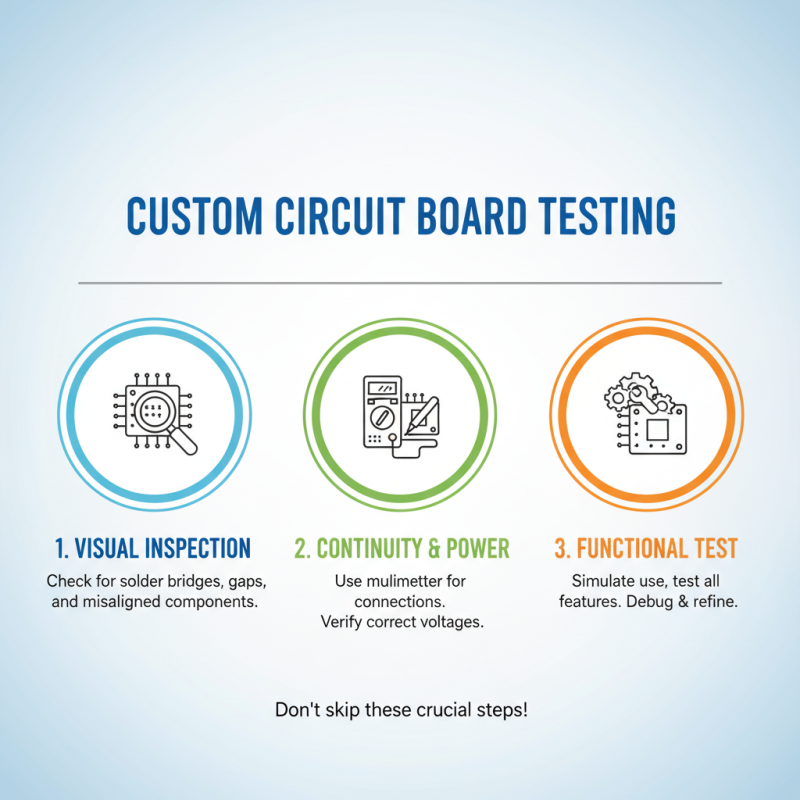
| 7 |
Test the assembled circuit. |
Multimeter, Power Supply |
1 day |